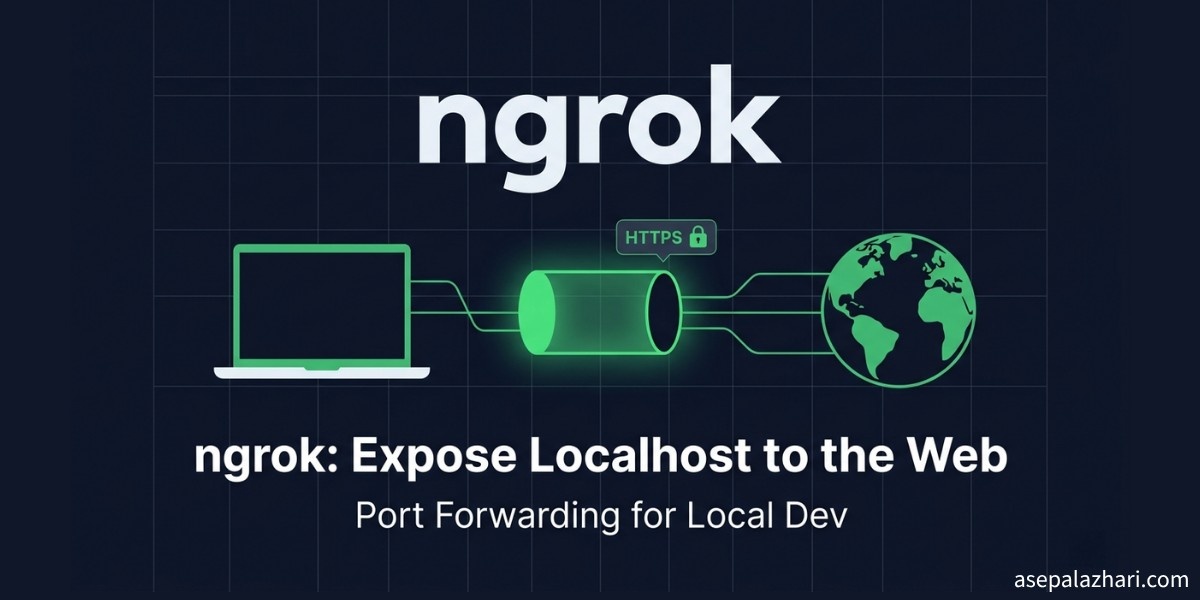
ngrok: Expose Localhost to the Web in 5 Minutes
How ngrok saved my Google OAuth testing when VS Code Remote SSH blocked port forwarding. Free, global install on Ubuntu 24, works across every project.
I was setting up Google OAuth for a project running on a remote Ubuntu server. Everything looked fine until I hit the redirect URI step. Google requires a real domain, not an IP address. My local dev server was sitting at something like http://192.168.1.x:3000 and Google flat-out rejected it.
My first instinct was to use VS Code’s built-in port forwarding. I had used it before on a local machine and it worked great. But this time I was connecting via Remote SSH, and that feature simply does not show up in that context. The port forwarding tab was missing entirely.
That is when I found ngrok.
What ngrok Does
ngrok is a tunneling tool. You run your local server on any port, then run ngrok pointing at that port, and ngrok gives you a public HTTPS URL. Anyone with that URL can reach your local server, as if it were deployed on the internet.
It handles the TLS certificate, the subdomain, and the routing for you. You get something like https://abc123.ngrok-free.app pointing straight to your localhost:3000.
For testing OAuth, webhooks, payment callbacks, or anything that needs a real domain, ngrok is exactly the right tool.
The Three Problems It Solved for Me
Problem 1: Google OAuth Requires a Domain
Google’s OAuth flow will not accept localhost or a raw IP address as a redirect URI. It wants something like https://yourdomain.com/auth/callback.
With ngrok, I got a real HTTPS URL in seconds. I added that URL to my Google Cloud Console as an authorized redirect URI, and the OAuth flow worked on the first try.
Problem 2: VS Code Remote SSH Hides the Port Forwarding Feature
If you use VS Code’s Remote SSH extension to connect to a server, you lose access to the built-in port forwarding feature. It only works when your project runs locally on your machine.
ngrok runs directly on the remote server, so it does not depend on VS Code at all. You SSH into the server, start your dev server, run one ngrok command, and you have a public URL. No IDE dependency.
Problem 3: Per-Project Installation Is a Waste
Some tools suggest installing ngrok as a project dependency via npm or yarn. That works, but you have to install it again for every new project. You also bloat your node_modules with a CLI tool that has nothing to do with your application code.
Installing ngrok globally on the system means you install it once and it is available everywhere, for every project, forever. That is the right approach for a system utility.
Installing ngrok Globally on Ubuntu 24
ngrok provides an official snap package that installs system-wide. Here is how to do it on Ubuntu 24.
First, install ngrok via snap:
sudo snap install ngrokNext, create a free account at ngrok.com. After signing up, go to your dashboard and copy your authtoken. Then connect your local ngrok install to your account:
ngrok config add-authtoken YOUR_AUTHTOKEN_HEREThat is the full installation. No npm, no project-level config, no version pinning.
Verify it works:
ngrok versionUsing ngrok for Local Development
Start your dev server as usual. For a Node project it might look like:
bun dev
# or
npm run dev
# Server running on http://localhost:3000
In a second terminal, run ngrok pointing at that port:
ngrok http 3000ngrok will output something like this:
Session Status     online
Account            your@email.com (Plan: Free)
Version            3.x.x
Region             Asia Pacific (ap)
Latency            12ms
Web Interface      http://127.0.0.1:4040
Forwarding         https://abc123.ngrok-free.app -> http://localhost:3000
Copy the Forwarding URL and use it anywhere a real domain is required.
Setting Up Google OAuth with ngrok
Here is the exact flow I used to get Google OAuth working during local development.
First, start your dev server and get an ngrok URL as shown above.
Go to Google Cloud Console, open your project, navigate to Credentials, and click your OAuth 2.0 Client ID. Under Authorized redirect URIs, add your ngrok URL plus the callback path your app expects:
https://abc123.ngrok-free.app/auth/callbackSave it. Note that Google can take a minute or two to apply the change.
Now update your application environment variables to use the ngrok URL:
# .env or .env.local
NEXTAUTH_URL=https://abc123.ngrok-free.app
GOOGLE_REDIRECT_URI=https://abc123.ngrok-free.app/auth/callback
Restart your dev server and test the OAuth flow. It will work exactly as it would on a deployed domain.
One thing to keep in mind: the free tier of ngrok generates a new random URL every time you restart it. If you restart ngrok, you need to update the redirect URI in Google Cloud Console again. For a paid plan, you can reserve a static domain to avoid this.
Also Read: OpenClaw Remote Setup: SSH Tunnel and PM2
The ngrok Web Inspector
When ngrok is running, it opens a local web inspector at http://127.0.0.1:4040. This is one of the most useful features for development.
Every HTTP request that comes through your tunnel is logged here. You can see the full request and response, including headers and body. If you are debugging a webhook, you can replay any request without triggering the original event again. It is like having a network inspector that lives between the internet and your local server.
Running ngrok in the Background
If you do not want to keep a terminal window open for ngrok, you can run it as a background process:
ngrok http 3000 &Or use a tool like screen or tmux to keep it in a detached session:
screen -S ngrok
ngrok http 3000
# Press Ctrl+A then D to detach
On a remote server, the screen approach is often the cleanest since you can come back to it later with screen -r ngrok.
Free Plan Limitations
ngrok is genuinely free for most development use cases. The free plan includes:
- One active tunnel at a time
- HTTPS tunnels (no custom domains)
- Random subdomain generated on each session start
- 40 connections per minute
For personal projects and local testing, those limits are more than enough. If you need a static domain or multiple tunnels at once, the paid plans start at around $10 per month.
Also Read: MCP MySQL Integration: Build AI-Powered Database Apps
Alternative: Custom Domain on a Static Config File
If you want to skip the random subdomain hassle, you can create a static ngrok config and point it to a reserved free static domain. ngrok now offers one free static domain per account.
First, reserve a free domain from your ngrok dashboard under Cloud Edge > Domains.
Then create or edit your ngrok config file:
# ~/.config/ngrok/ngrok.yml
version: "3"
agent:
    authtoken: YOUR_AUTHTOKEN_HERE

tunnels:
    myapp:
        proto: http
        addr: 3000
        domain: your-reserved-domain.ngrok-free.app
Start the named tunnel:
ngrok start myappNow your URL never changes between sessions, so you only need to configure Google Cloud Console once.
Wrapping Up
ngrok solved a specific problem cleanly. Google OAuth needs a domain, VS Code Remote SSH does not expose port forwarding, and installing CLI tools per-project is wasteful. Installing ngrok once globally on Ubuntu 24 with snap took under two minutes and now works for every project I run on that server.
If you are dealing with OAuth flows, webhook testing, or anything else that needs your local server to look like a real website, ngrok is worth trying. The free plan is enough to get real work done.